Schematic design focuses on the functional representation of an amplifier's circuitry, illustrating how components connect and interact electrically, while PCB layout translates this schematic into a physical board design, arranging components and routing traces to optimize performance and minimize noise. Understanding these differences is crucial to ensure Your amplifier performs reliably and efficiently; explore the rest of the article to learn how to expertly navigate both processes.
Comparison Table
| Feature | Schematic Amplifier | PCB Layout Amplifier |
|---|---|---|
| Purpose | Design representation using symbols and connections | Physical realization of the amplifier circuit on a board |
| Focus | Electrical functionality and component interaction | Physical placement, routing, and signal integrity |
| Details | Component values, node connections, circuit topology | Trace width, component footprint, grounding, EMI control |
| Design Tool | Schematic capture software (e.g., OrCAD, KiCad) | PCB layout software (e.g., Altium Designer, Eagle) |
| Output | Electrical circuit diagram | Gerber files for fabrication |
| Errors to Avoid | Incorrect connections, missing components | Signal interference, improper grounding, layout parasitics |
| Impact on Performance | Defines circuit behavior and gain | Influences noise, stability, and thermal management |
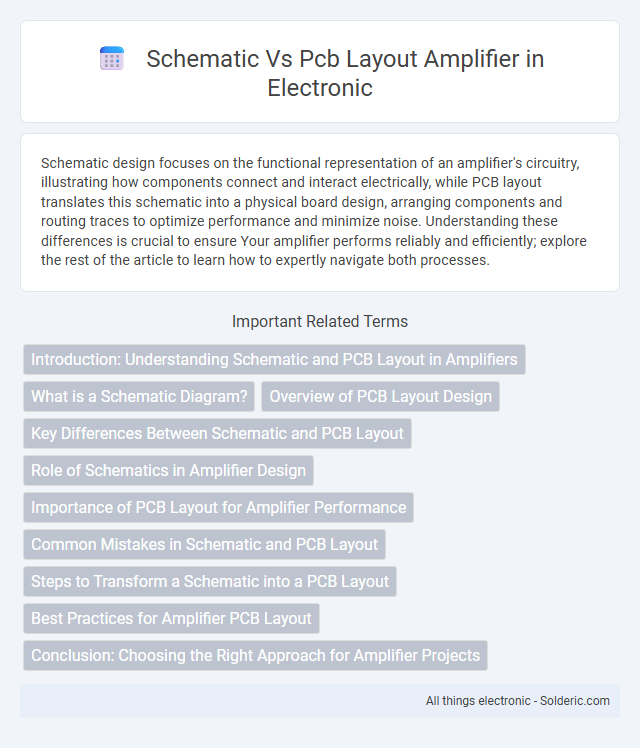
Introduction: Understanding Schematic and PCB Layout in Amplifiers
Schematic diagrams represent the fundamental electrical connections and components of an amplifier, providing a clear and detailed blueprint for circuit design. PCB layout transforms this schematic into a physical arrangement, optimizing component placement and routing to ensure signal integrity, minimize noise, and improve thermal management. Mastering both the schematic and PCB layout is essential for building reliable amplifiers that meet performance and durability standards.
What is a Schematic Diagram?
A schematic diagram represents an amplifier's electrical circuit using standardized symbols to illustrate components and their connections. It serves as a blueprint for understanding circuit functionality and guides the design of the PCB layout by specifying component placement and wiring paths. Your ability to accurately interpret the schematic ensures proper assembly and performance of the amplifier's printed circuit board.
Overview of PCB Layout Design
PCB layout design for amplifiers involves translating the schematic into a physical arrangement of components and traces on a printed circuit board, ensuring optimal signal integrity and minimal noise. Key considerations include minimizing trace lengths for sensitive nodes, proper grounding techniques, and managing thermal dissipation to enhance performance and reliability. Effective PCB layout directly impacts amplifier gain stability, frequency response, and overall power efficiency.
Key Differences Between Schematic and PCB Layout
Schematic diagrams represent the functional electrical connections and components of an amplifier, outlining circuit operation clearly without physical constraints. PCB layouts translate these schematics into physical designs, placing components and routing copper traces to optimize signal integrity, reduce noise, and ensure manufacturability. Key differences include the abstract nature of schematics versus the spatial, layer-based complexity and design rules enforcement inherent in PCB layouts.
Role of Schematics in Amplifier Design
Schematics play a critical role in amplifier design by providing a clear and detailed representation of the circuit's electrical connections and component functions, ensuring accurate signal flow and amplification stages are defined. They serve as a blueprint for translating conceptual designs into practical layouts, guiding the placement of transistors, resistors, capacitors, and feedback loops essential for amplifier performance. By highlighting the relationship between components, schematics enable effective troubleshooting, optimization, and precise communication between engineers during the development of high-fidelity amplification systems.
Importance of PCB Layout for Amplifier Performance
PCB layout is critical for amplifier performance because it directly impacts signal integrity, noise reduction, and thermal management. Proper placement and routing of components on the PCB minimize parasitic capacitance and electromagnetic interference, ensuring your amplifier delivers clean, stable output. Neglecting PCB layout can result in distortion, oscillations, and reduced overall efficiency despite a well-designed schematic.
Common Mistakes in Schematic and PCB Layout
Common mistakes in amplifier schematic design include incorrect component values and improper connections that lead to signal distortion or instability. In PCB layout, poor grounding, inadequate decoupling, and improper trace routing can introduce noise and impair amplifier performance. Ensuring your schematic and PCB layout follow best practices is crucial to achieve reliable and high-quality amplifier operation.
Steps to Transform a Schematic into a PCB Layout
Transforming a schematic into a PCB layout involves multiple critical steps: first, component placement based on functional blocks and signal flow to minimize noise and interference; second, defining the board outline and layer stack-up to ensure mechanical compatibility and electrical performance; third, routing signal traces with attention to impedance control, power distribution, and thermal management to optimize amplifier functionality and reliability. Verification processes such as Design Rule Check (DRC) and Electrical Rule Check (ERC) ensure the layout adheres to manufacturing constraints and schematic intent. Final steps include generating fabrication files like Gerbers and Bills of Materials (BOM) to communicate design specifics for PCB production.
Best Practices for Amplifier PCB Layout
Effective amplifier PCB layout requires prioritizing low noise and signal integrity by minimizing loop areas and using proper grounding techniques like star grounding. Component placement should follow the signal flow, keeping sensitive amplifier input stages away from high-current paths and digital circuits to reduce interference. Decoupling capacitors must be placed close to amplifier IC power pins, and power and ground planes should be solid and uninterrupted to ensure stable operation and prevent oscillations.
Conclusion: Choosing the Right Approach for Amplifier Projects
Schematic design provides a clear and detailed representation of the amplifier's electrical connections, ideal for initial planning and troubleshooting. PCB layout focuses on the physical arrangement of components to optimize signal integrity and minimize noise, crucial for practical amplifier performance. Your choice between schematic and PCB layout depends on whether you are in the design or implementation phase, ensuring efficient development and reliable amplifier operation.
schematic vs pcb layout amplifier Infographic